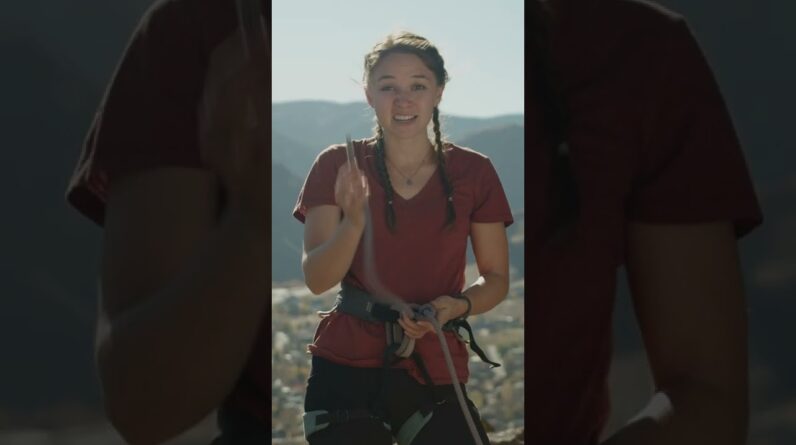
Learning how to safely tie yourself into a rope is one of the most important things to know as a rock climber because it’s one of the things that keeps you alive. If you’re learning for the first time or just need a refresher for that belay test in the gym, Miss Lewis has your back.
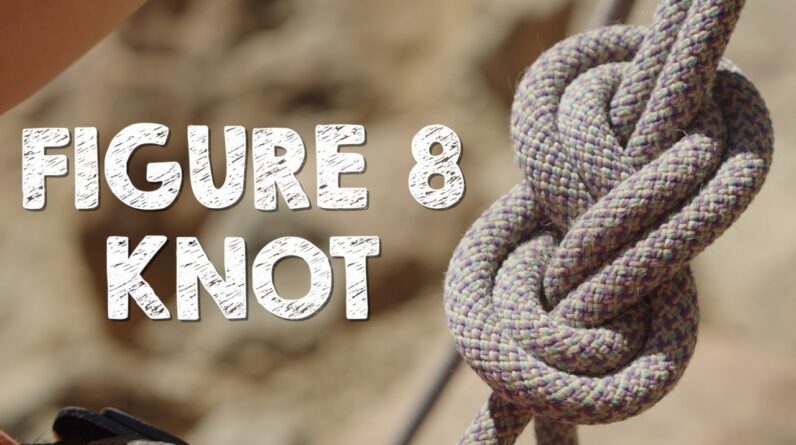
Let’s talk about how to properly tie a Figure eight knot my name is Miss Lewis I’m a rock climbing teacher in Colorado And this is Mountain syllabus First we need to measure where we’ll Start or not on the Rope you want to Find the end and put it in one hand this Side of the Rope is called the working End or the tail while this side is Called the standing end most climbers Like to use their arms to measure out The length of the Rope for me I like to Go the distance between my hand and a Little bit past my shoulder you’ll want To play around and see exactly where the Right spot will be for you Then we’ll want to pinch the Rope this Bent u-shape is called a bite Now that we have our bite we need to Create our figure eight there’s plenty Of fun ways to remember how to do this But I like to turn mine into a little Snowman I like to take it twist them so He has a head take his scarf right Around his neck look him in the eyes and Give him a carrot nose right into his Face As you pull the tail through be sure not To lose your measurement another way to Create this knot To take your bite turn it twice take the Tail stick it right through the loop [Music] If your knot looks like the number eight
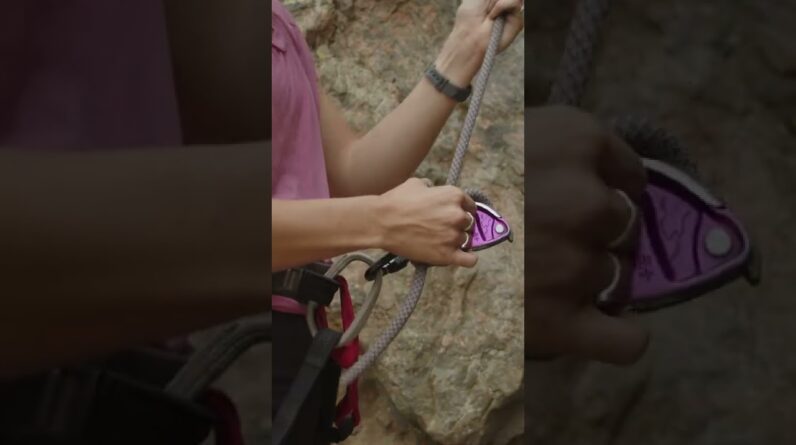
You’ve done it right if it turns out Looking like a sad pretzel you’ve done It wrong and you did not give the Snowman his scarf If it turns out really messy like This then that means you gave the Snowman too many scarves Now it’s time to thread our rope through Our harness most harnesses are designed With two hard points to thread your knot And any other soft gear through it take Your tail and feed it from the bottom Into the top [Music] Always double check that you’ve brought The Rope through both of your hard Points if you only thread it through one You run the risk of overloading one part Of your harness once you weight it so It’s always worth the extra look Now that we’ve got our figure eight Measured away from the end of the rope And into our harness it’s time to do the Follow through this is the important Step of tying your knot into your Harness We want to make the knot look clean and Well dressed this helps not only with Safety but also makes it easier to untie The knot once you’re done As we’re following through we want to Start hard so we can finish easy Starting hard means that we take the Tail and slip it into this tight space
Here rather than the Big Easy Gap Then you’ll want to pull the knot close To your body about a fist length away If this Loop is any bigger you run the Risk of having your hand your foot or Even a rock getting caught inside of Here From here we can think of this like a Train on the train tracks or two snake Best friends who want to be really close Together so wherever this rope goes this One will follow it all the way till the End Now that we’ve started hard we can Already see where we need to follow We’ll pull this rope around right here And down into this tunnel while pulling The slack through then we follow the Rope right around here until we can Finish easy right through this big gap We pull the slack through we want to Check for a couple different things to Make sure that our knot is clean and Well dressed first we want to make sure There are no crisscrosses or overlaps to Do this we can do what I call the Pancake test This means that we can verify that the Knot can lay flat into our hands like a Pancake If we’ve messed up somewhere along the Way this is where we’ll be able to tell Now that we know we’ve done it correctly We can pop these to their correct sides
This rope is Behind These two strands so It’s going to pop back this way This one is in front so it pops forward As we tighten we want to pull one from The top and one from the bottom and then Switch Now we’ll make sure we have five sets of Parallel lines we can check this by Counting two four six eight ten Our next important check is our tail we Want this to be about six inches you can Use the Hang Loose to check this or two Fists it’s important to have this be the Right length because if it’s too long it Can get in your way if it’s too short You could run the risk of having it Thread back through your knot Some climbers prefer to do a stop or not Finish but if you’ve tied the knot Correctly and have a proper length tail You won’t need one So your quick check can be to see if Your knot is about a fist length away You can count two four six eight ten if You have a six inch long tail and that You’re through both of your hard points Now you know how to tie your figure Eight knot with the follow through this Is easily one of the most important Things you’ll learn as a rock climber Because staying connected to your rope Is what keeps you alive I miss Lewis and this is Mountain Syllabus